HOLIDAY WINE GLASSES
MATERIALS NEEDED
- Wine Glasses – you can get them from Amazon
- Masking tape
- Dishwashing liquid detergent
- Laser engraver (we suggest a CO2 laser such as any from the Epilog range)
- Graphic design software (we run CorelDraw classes throughout the year)
STEP 1: CUSTOMISE YOUR DESIGN
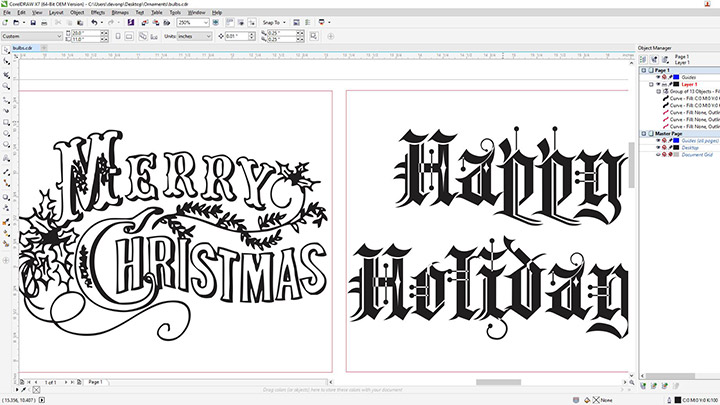
We’ve prepared artwork files for you to download and get started! Click here to download design files and modify them to your liking using your graphic design software.
STEP 2: INSERT ROTARY
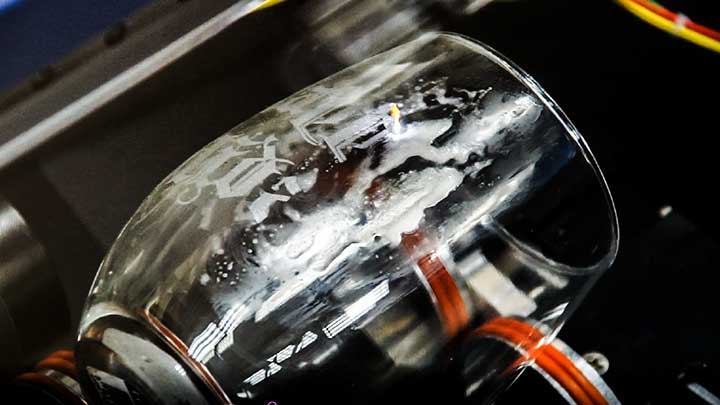
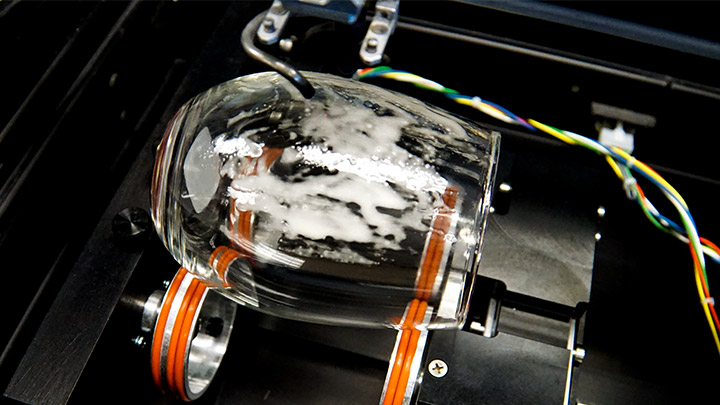
To insert the rotary, lower your engraving table, remove the vector or engraving table, and power off your machine. Plug in your rotary attachment and then restart the laser. The laser head will relocate to a new home position for the rotary. Place the wine glass on the rotary and ensure it is level before engraving. If you’d like, apply a thin layer of dishwashing detergent to the piece. Some operators use this technique to dissipate the heat from the laser, and others do not. It is simply a matter of preference.
STEP 3: ENGRAVE
Now it’s time to engrave – enter your speed and power settings in the Laser Dashboard and send the job to the laser. Press GO and you’re on your way to a beautiful set of engraved wine glasses! We used a 50-watt Helix with the following settings: Raster // Speed 40% // Power 100% // DPI 300 // Stucki // Art 80% black