
LASER CUTTING
PAPER BOOKMARKS
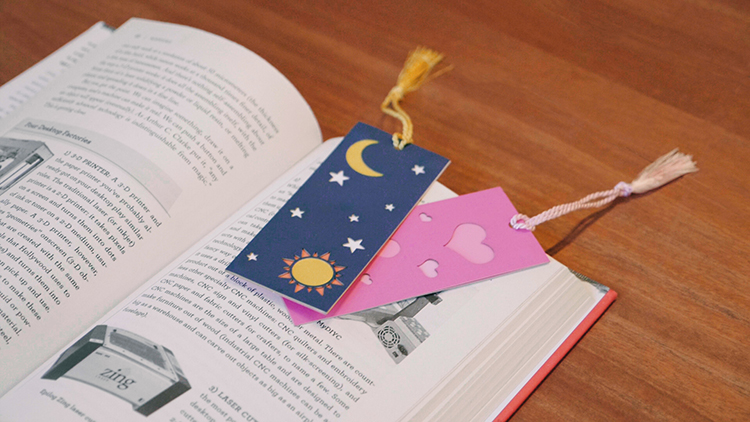
Playful, colorful, and fully customizable, these laser cut paper bookmarks are easy and inexpensive to create with your laser system.
Here we used the laser to cut patterns and shapes from multiple pieces of cardstock and then layered them for a final product that has depth and dimension. These would be great sellers at craft fairs, bookstores, libraries, schools, and more!
Read on to learn how to create your own multi-layered paper bookmarks.
MATERIALS NEEDED
Textured Card stock paper (available at most major craft stores. e.g. Spotlight)
Bookmark Tassels
Spray Adhesive
Laser cutter (we used our Fusion Pro 48 120w)
Graphic design software (we run CorelDraw classes throughout the year)
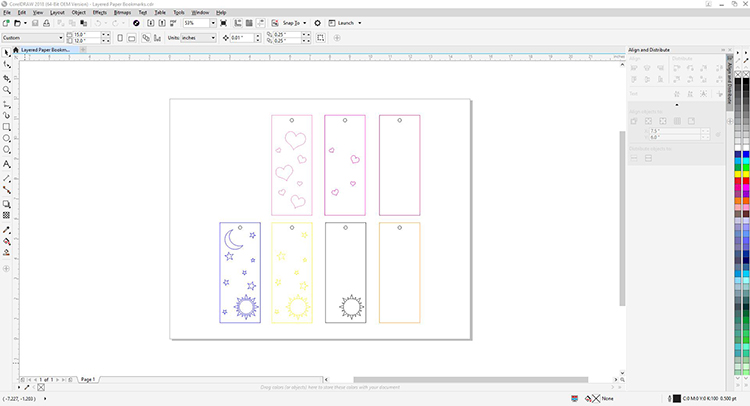
Download the vector files and adjust the artwork accordingly. Our artwork is set up for 2” x 5” bookmarks.
You may need to change the dimensions or rotate your artwork to fit your needs.
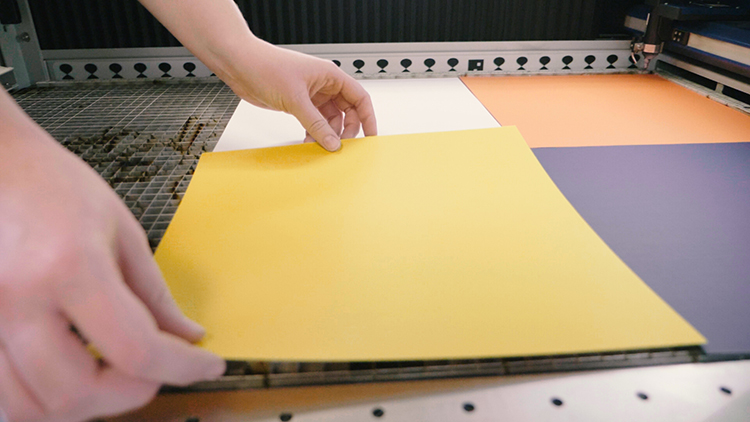
Place the cardstock paper on the vector table in your machine, and use the manual focus gauge to focus the table.
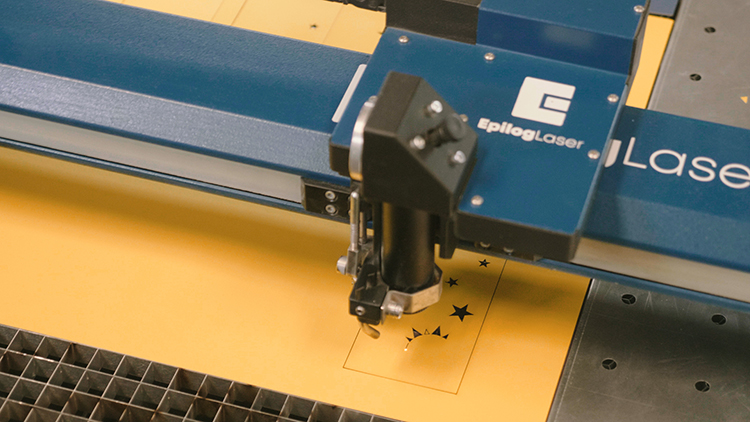
Once you’ve customized your graphics and the table is focused, send the job to the laser and press Go!
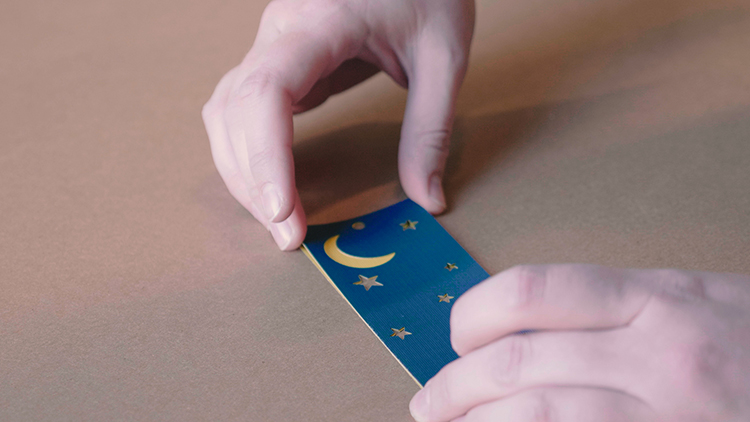
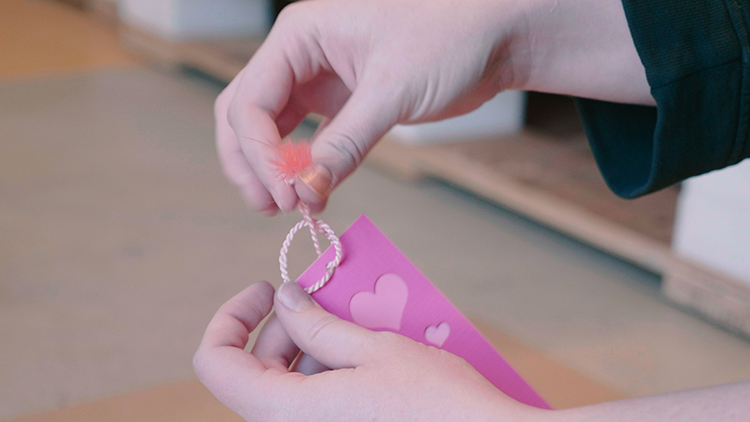
Once the job has completed, apply adhesive to your layers and then assemble them.
Loop the bookmark tassel through the hole at the top and you’re done!
HOW MUCH IS A LASER SYSTEM?
Use our online calculator tool to work out how you can easily cover the cost of your laser!
GO TO CALCULATOR
ULTIMATE GUIDE TO LASER SYSTEMS
Everything you need to know about laser cutting and laser engraving systems before you buy.
BOOK A DEMO
Visit our showroom in either Sydney, Melbourne, Brisbane or Perth and put our lasers to the test. Bring your own sample to see the results in person!
CLICK HERE TO BOOK