
LASER CUTTING
FABRIC MASKS FROM T-SHIRTS
Old T-shirts are usually readily available and inexpensive materials, so they’re a great option for making non-medical-grade masks for you to use right now.
If you want to make fabric masks for others, you can still follow this tutorial and use any material.
Learn how to quickly and easily cut two-layer masks from readily available fabric.
MATERIALS NEEDED
- T-shirt or other fabric
- Laser cutter (we used our Fusion Pro 48 120w)
- Graphic design software (we run CorelDraw classes throughout the year)
There are two main ways you can handle putting your material into the laser machine: Directly placing the shirt on the work area, or prepping the material by hand-cutting it first. We’ve described both below.
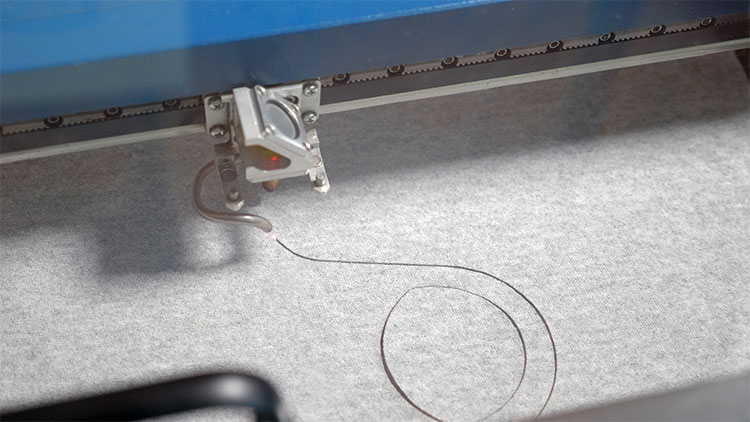
Directly Laser-Cutting T-Shirts
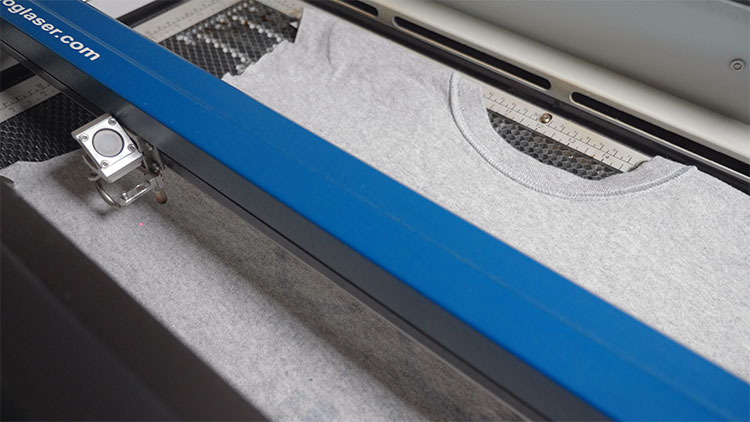
One method is to simply place the shirt directly into your machine’s work area. There are two things to consider when doing this.
First, you need to make sure the laser head has the proper clearance to move around the machine without catching on the material, so you’ll want to make sure the shirt doesn’t bunch up in any areas. You can check the clearance on the Mini 24 by pressing the X/Y Off button and selecting Go to confirm, then manually moving the laser head around.

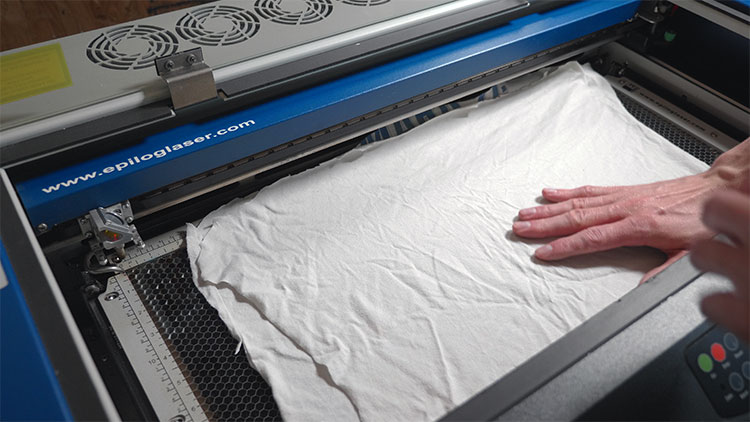
The second thing to keep in mind is you’ll want your material to be as flat as possible so you end up with consistent cuts.
We’ll be cutting through two layers of shirt material, but we want to make sure there are no folds or bunches that will take the surface of the material out of focus with the laser.
Be sure your laser is focused to the surface of the material, then head over to Adobe Illustrator with the graphics file.

We have this project file available for you in multiple formats, so be sure to check out the download folder to find the one(s) that you prefer.

We’ll print over to the Epilog engraver, making sure our media size matches our laser’s work area.
Then within the Epilog Dashboard we’ll configure our print settings.
The speed and power you use here will depend slightly on the thickness of your T-shirt material. We’re working with thin and medium-weight cottons, and we found that for two layers a Speed of 75% and a Power of 35% worked quite well with a Frequency of 2500.

Now that we have the settings configured, we can print to the machine.
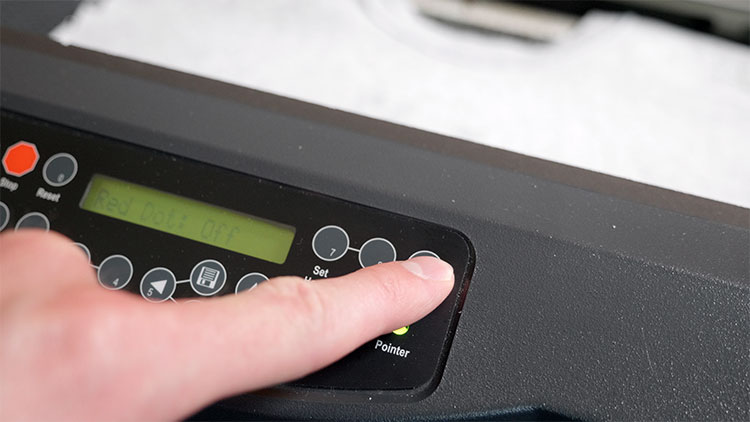
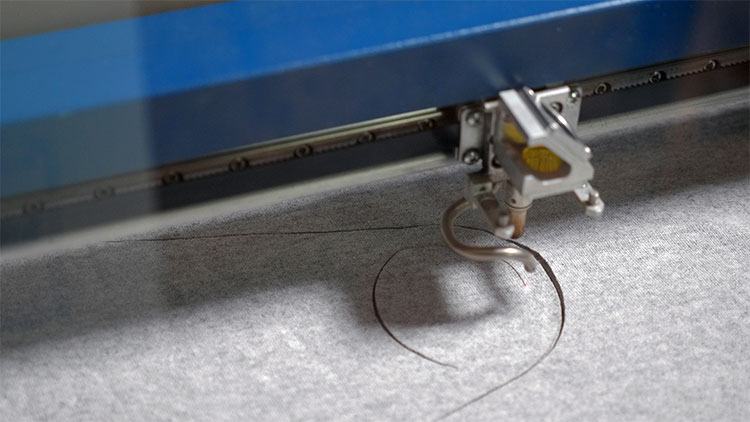
One more thing to consider, since we’re potentially working with some irregularly shaped materials, is to make sure the graphic is placed properly and will fit within the material. One way to do this is to press the Pointer button on the Mini’s control panel to turn on the Red Dot Pointer.
Then with the machine’s lid open, run the job and watch the red dot to see where the laser will cut. If the laser goes off of the material, you’ll want to go back into your graphics software and adjust the placement accordingly.


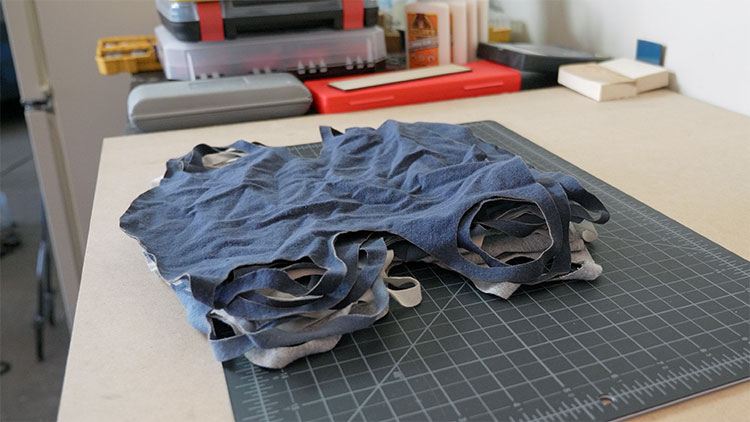
Prepping T-Shirts by Hand-Cutting Before the Laser
Now, the second option for handling the material, which takes a little more time upfront but may reduce some work at the laser, is to cut up your t-shirts beforehand.
With a medium or large shirt, you should be able to get three to four nice rectangles of material, depending on the size of the shirt’s neckline.
Using this method reduces the chances of bunching and folds as you prep the material in the machine, but ultimately how you handle this is up to you.
These jobs are really easy to run and you can take a whole stack of old T-shirts and create a lot of masks in fairly short order.


Final Assembly
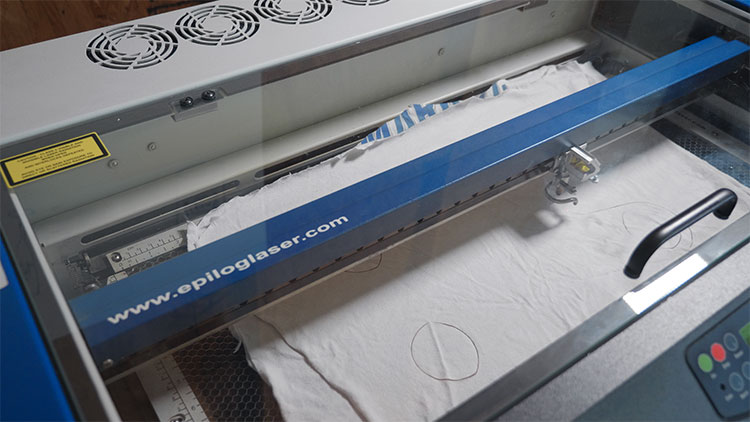
If you’re wondering why the masks have four holes in them, that’s because they’re designed to be folded up to provide two layers of protection, and doing so creates a slot into which you can place a folded tissue, paper towel, or other filtering material.
Again, these are not medical-grade masks, and should not be used as such, but every little bit of barrier helps.

When the mask is folded over, be sure to align the holes so you end up with a pair of openings for your ears, then it’s ready to wear.
And there you have it. Super quick, easy-to-make masks from old t-shirts and an Epilog Laser. Thanks everyone, and stay healthy.

HOW MUCH IS A LASER SYSTEM?
Use our online calculator tool to work out how you can easily cover the cost of your laser!
GO TO CALCULATOR
ULTIMATE GUIDE TO LASER SYSTEMS
Everything you need to know about laser cutting and laser engraving systems before you buy.
BOOK A DEMO
Visit our showroom in either Sydney, Melbourne, Brisbane or Perth and put our lasers to the test. Bring your own sample to see the results in person!
CLICK HERE TO BOOK