LASER ENGRAVE
GLASS JEWELLERY BOX
MATERIALS NEEDED
- Glass Jewellery Box (we got ours from Koch.com)
- Laser engraver (we suggest a CO2 laser such as any from the Epilog range)
- Graphic design software (we run CorelDraw classes throughout the year)
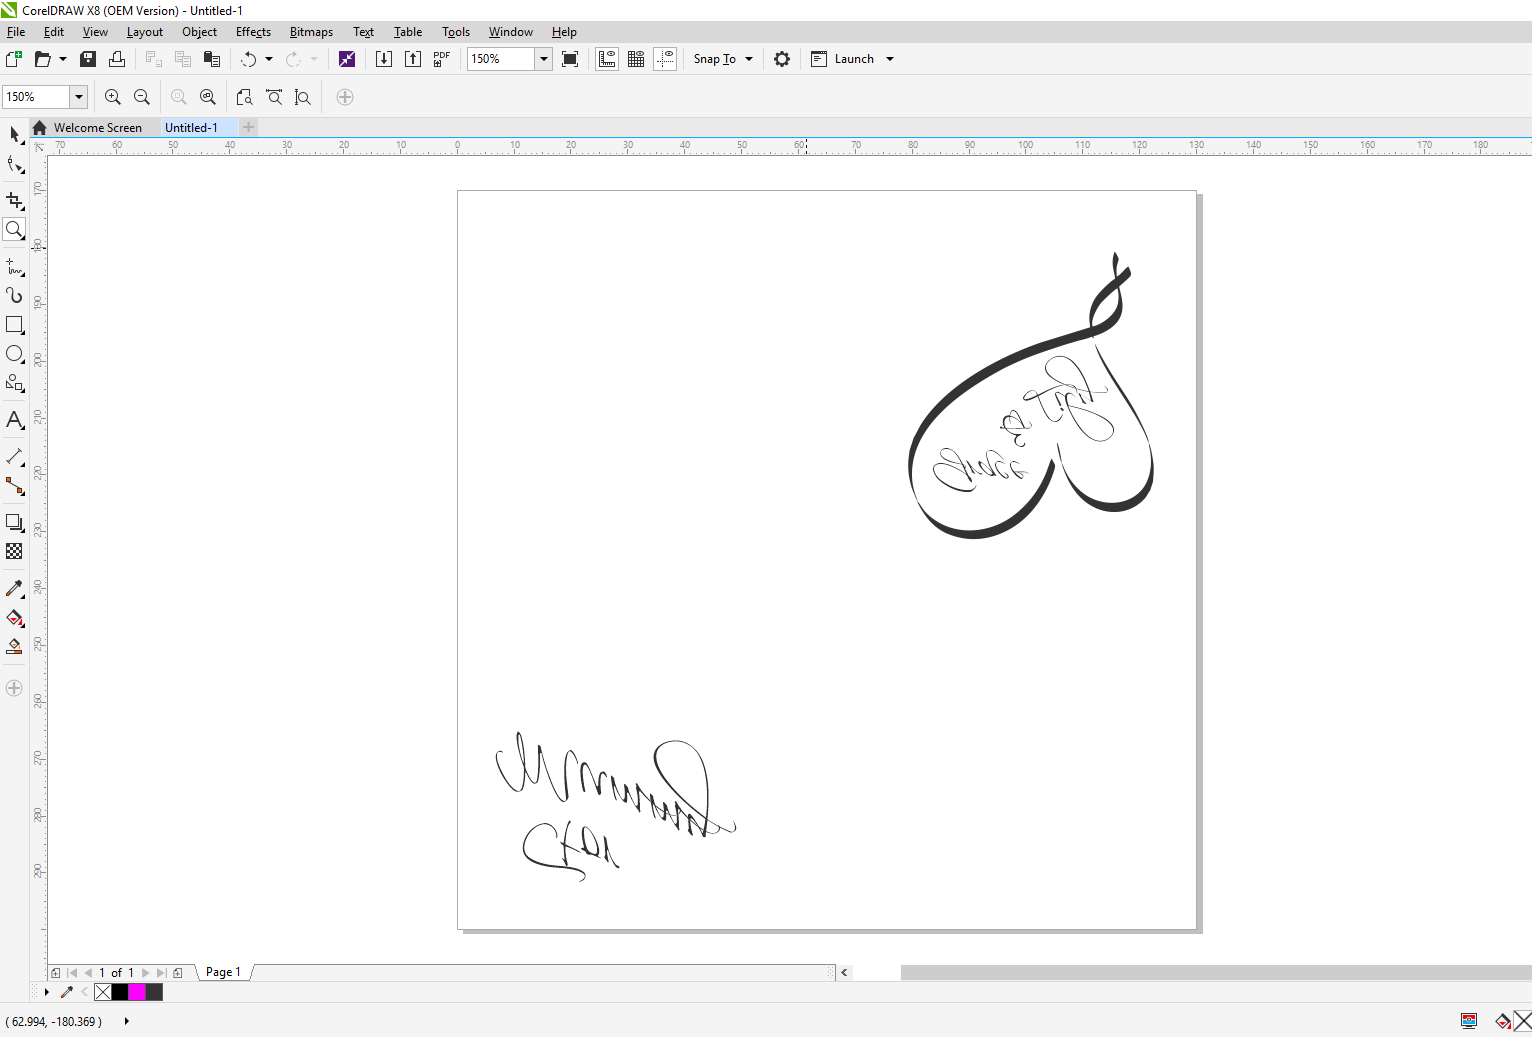
STEP 1: PREPARE ARTWORK
Download our design to get started! For this design we are going to laser engrave two corners of the glass jewellery box.
Open the artwork files and customise as necessary to suit your item size and position as required. You may need to change the font to your own font.
For a cleaner finish, we will be engraving the back of the glass, so be sure to mirror the artwork.
We used 80% black for this artwork.
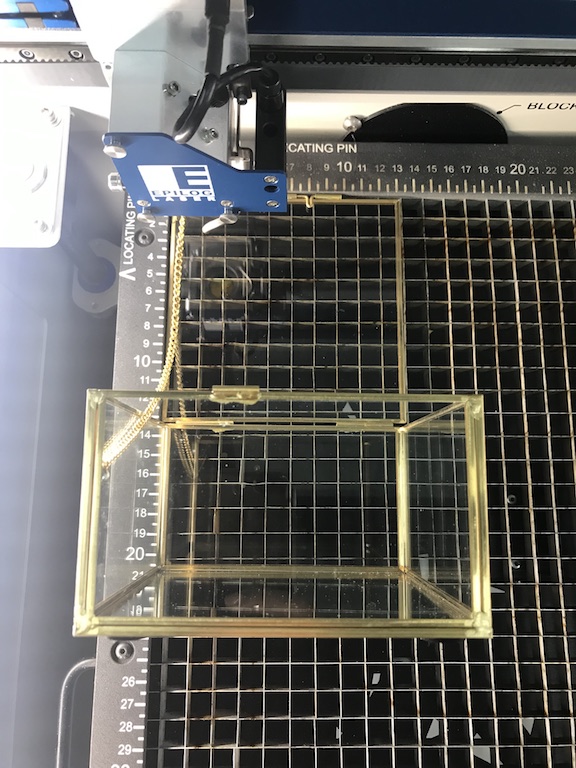
STEP 2: SET UP GLASS BOX
Place the glass box inside the laser.
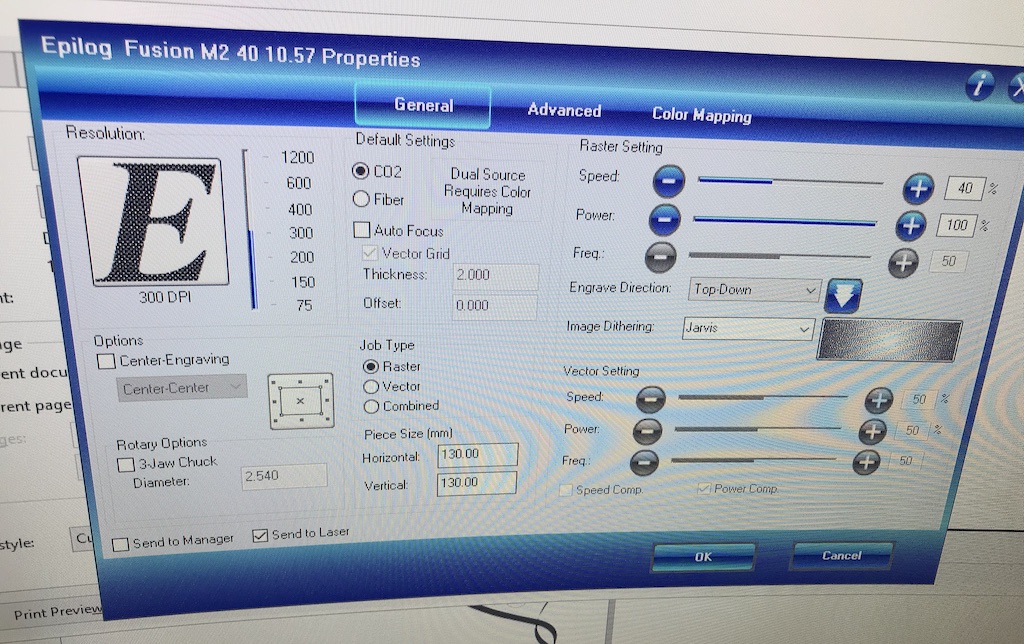
STEP 3: PRINT JOB
We used the following print settings on our Epilog Laser Fusion M2
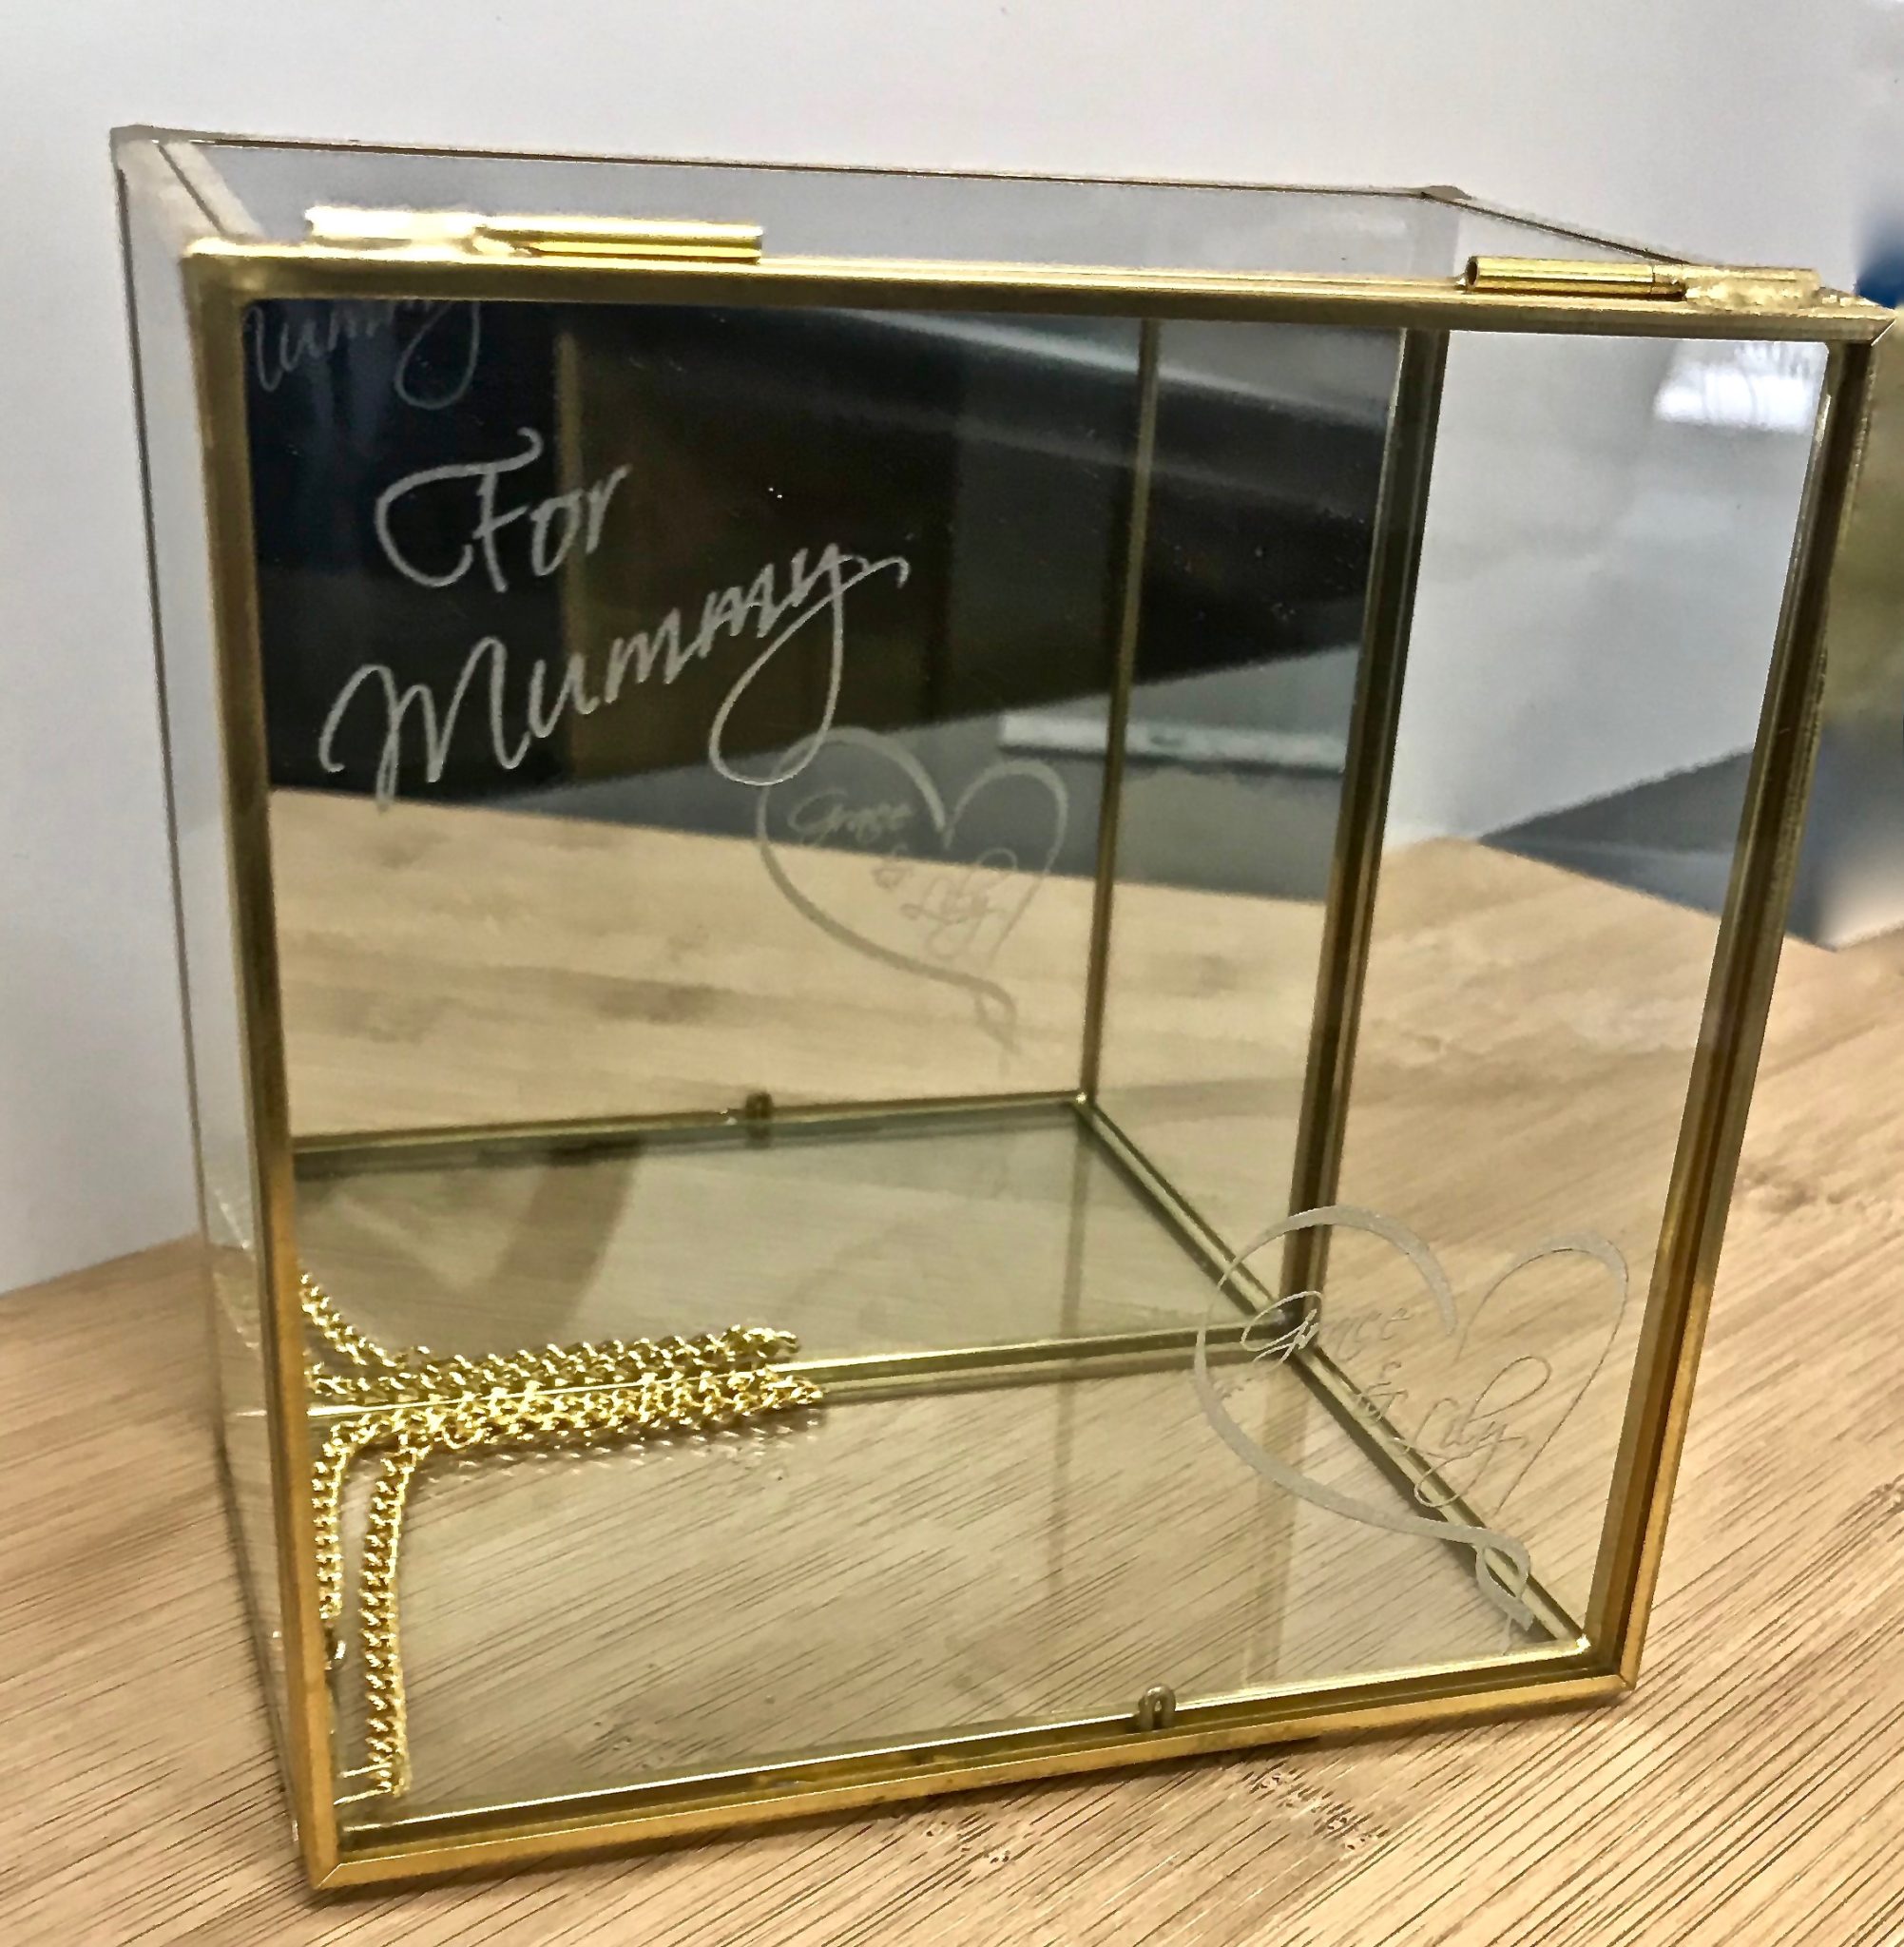
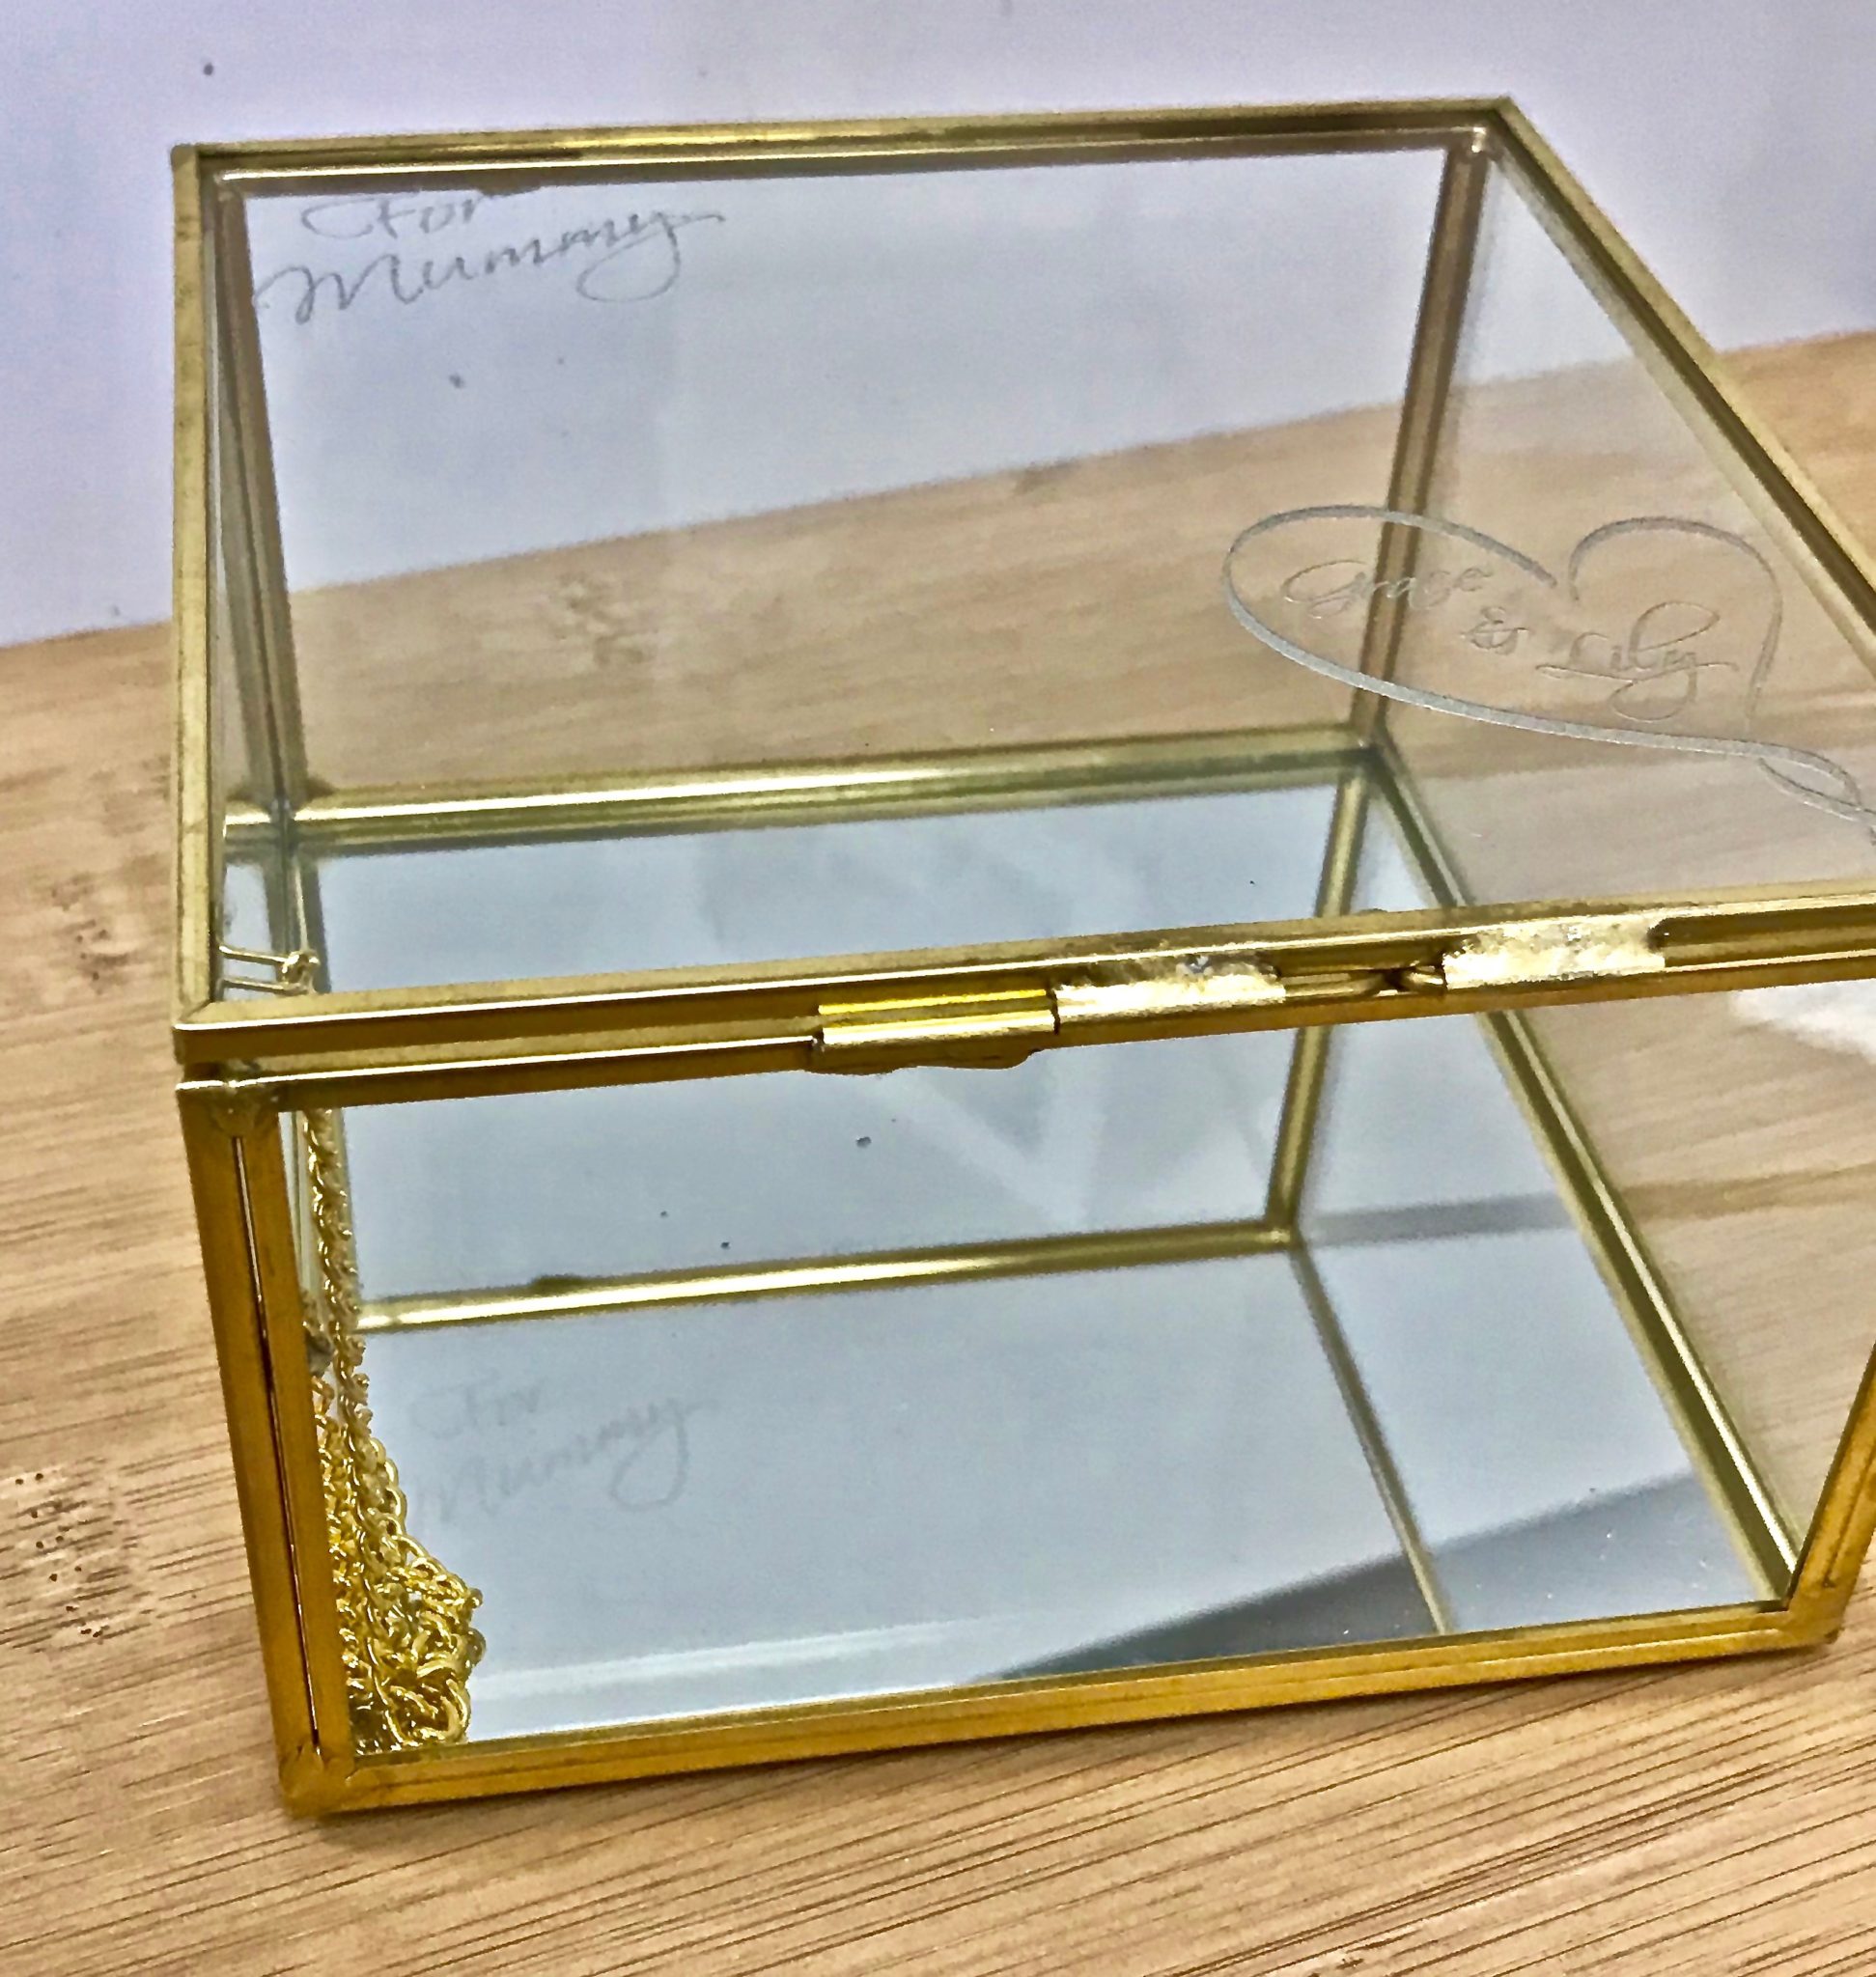
STEP 4: GIFT!
We created a personalised jewellery box as a custom gift for Mother’s Day! This is a great application idea that can be sold as a personalised gift or you can create your own unique engraving designs.
 .
.