
LASER ENGRAVED JEWELLERY
MATERIALS NEEDED
- Jewellery pieces
- CerMark
- Laser engraver (we suggest a CO2 laser such as any from the Epilog range)
- Graphic design software (we run CorelDraw classes throughout the year)
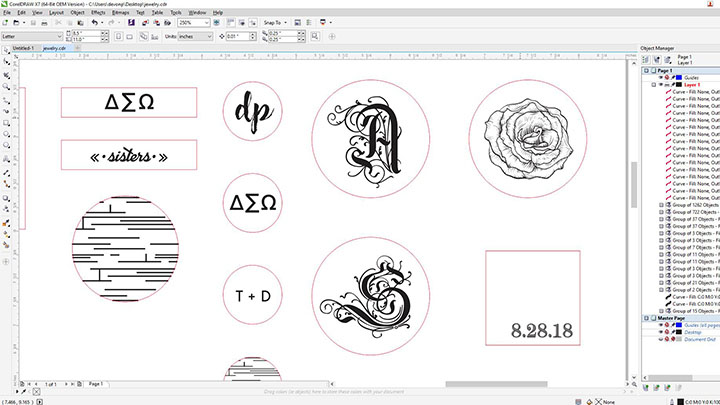
STEP 1: PREPARE ARTWORK
We’ve prepared artwork files for you to download and get started! Click here to download.
Open the artwork files and customise as necessary to fit your jewellery pieces.
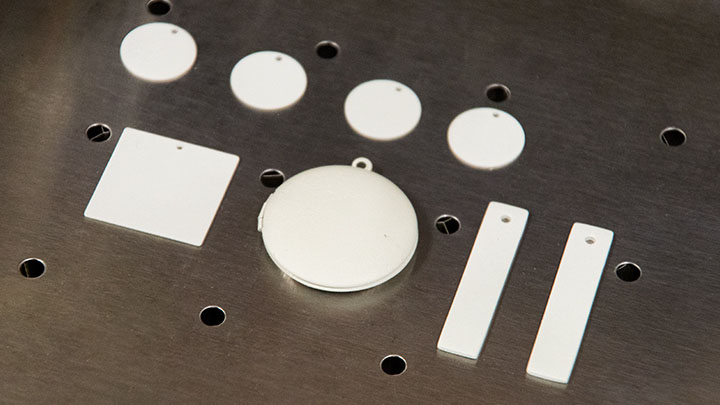
STEP 2: PREPARE MATERIAL
Coat your metal jewelry pieces with CerMark and let dry. Insert your first engraving piece into the system. You can use the upper left corner (factory home position) if you’d like, or you can change the home position and place your product anywhere on the table and engrave using Epilog’s Center-Center engraving feature. If you’d like a visual indicator of where your design will engrave, draw a vector box (or circle) around the graphics and with the red dot pointer on and laser lid open, run ONLY the vector portion. When you are satisfied with the placement of the design, remove the vector box, and you’re ready to engrave.
If you have a fiber laser, you can skip the pre-treating step, as these systems were designed for bare-metal marking. Just be sure to check your fiber laser user manual for recommended settings for your particular metal.
STEP 3: SEND THE JOB
Once you’ve customized your graphics, send the job to the laser and press GO! The laser bonds the marking agent to the metal and you’re left with a permanent design. Once engraved, remove the remaining bonding agent with a wet cloth and that’s all there is to it!
