
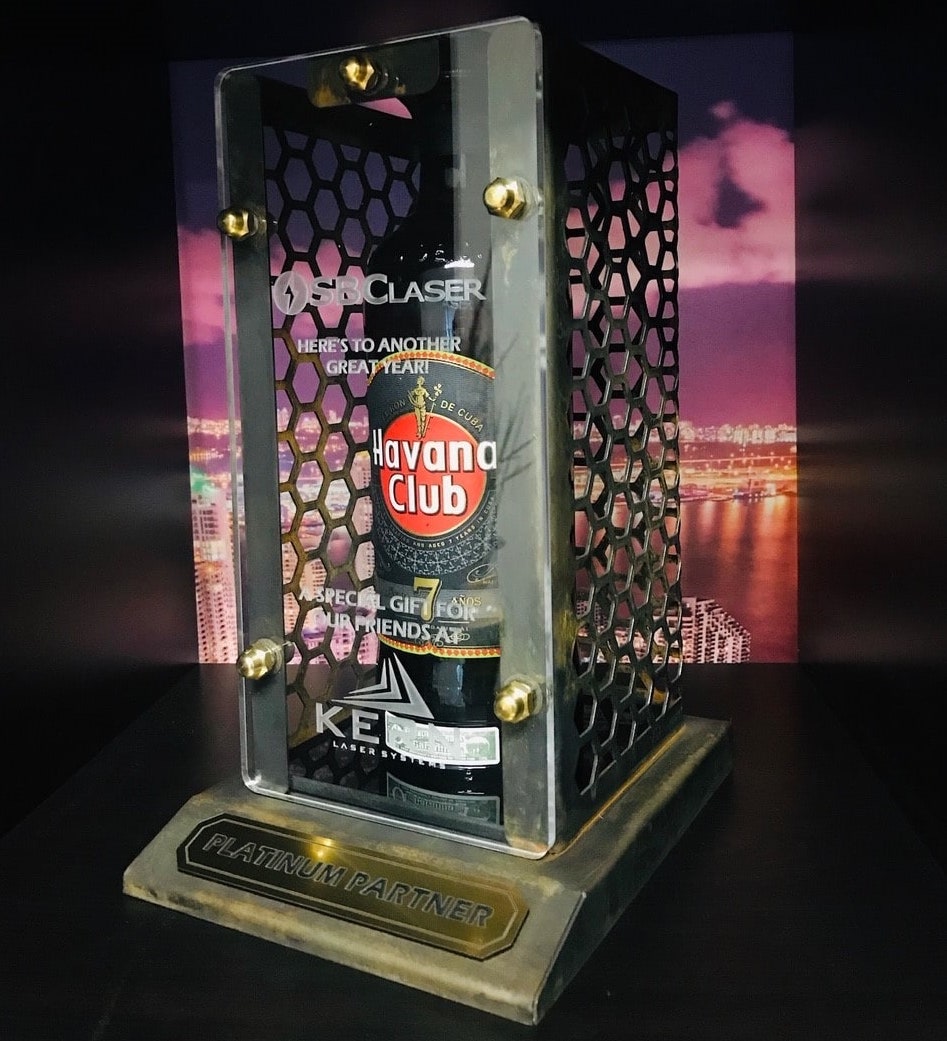
LASER CUT & ENGRAVED
MIX MEDIA GIFT
MATERIALS NEEDED
- 1mm (18 ga) mild steel
- 6mm (1/4″) acrylic (clear and black)
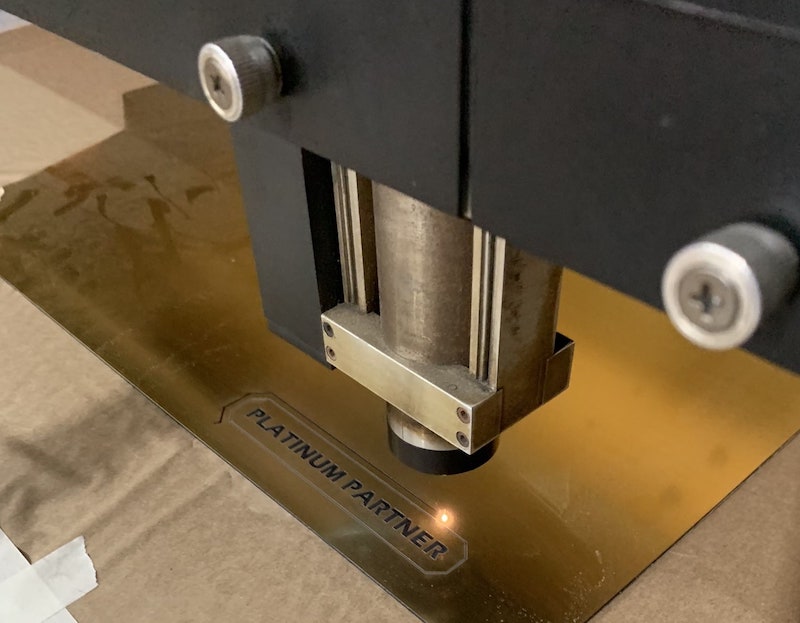
- 0.5mm (.020″) brushed brass (used here is from Rowmark)
- Brass acorn nuts, washers, and bolts
- Blackening chemical
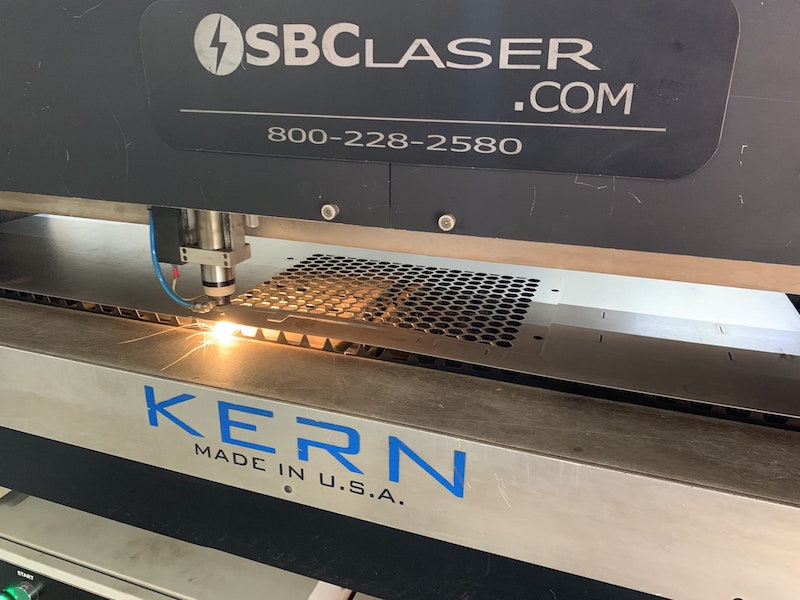
- Laser engraver able to cut milt steel (Kern 400W HSE laser system)
- Graphic design software (we run CorelDraw classes throughout the year)
Click on the the finished product to zoom (Images courtesy Kern Laser and SBC Laser)
STEP 1: SET PARAMATERS
- 1mm Mild Steel
Speed: 2″/sec
Power: 90%
Frequency: 600Hz
Assist Gas: Oxygen (100psi) - Acrylic Etching
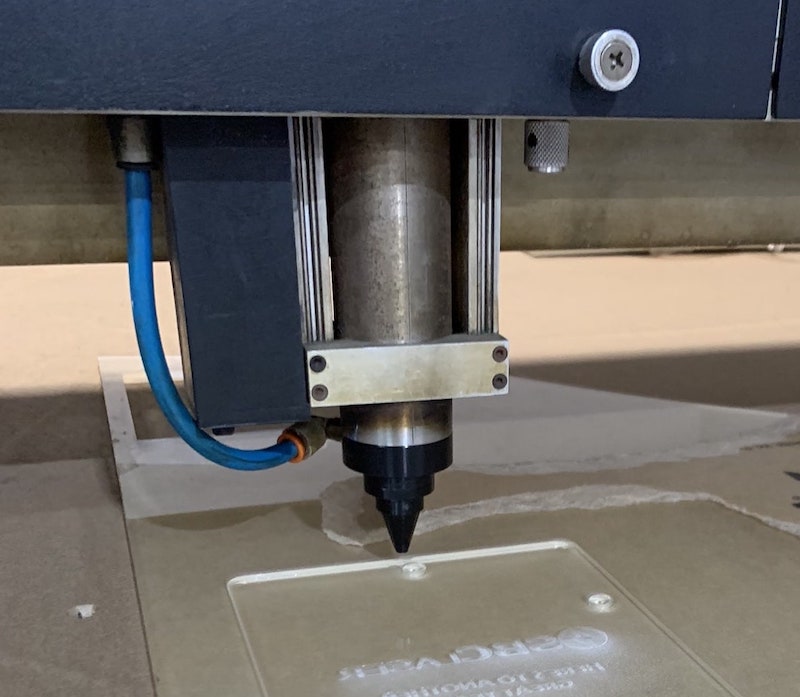
Speed: 80″/sec
Power: 25%
DPI: 300
Assist Gas: Compressed Air (20psi) - Acrylic Cutting:
Speed: .5″/sec
Power: 30%
Assist Gas: Compressed Air (5psi
STEP 2: SET UP GLASS BOX
When cutting metal, laser focus is an important aspect. As the mild steel is cut, it heats up and tends to move around. If using a Kern (like we did for this project), the automatic height follower maintains a consistent focus point over the entire sheet.
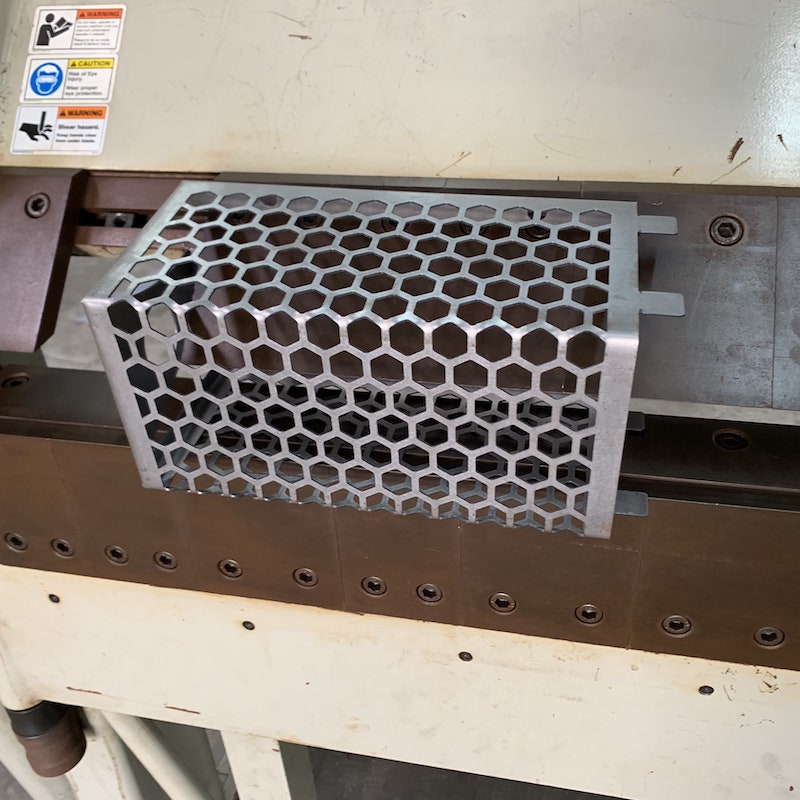
STEP 3: FORM METAL
This custom cage and base are bent using a folding table. No welding was required.
STEP 4: CUT & ENGRAVE ACRYLIC
Lasers are popular tools when processing acrylic.
. 
STEP 5: BLACKEN STEEL
A chemical process used applied to the steel, giving it a blackened look.
.
STEP 6: ASSEMBLE
The only fasteners used on this project are decorative brass acorn cap nuts.
